What is Rava’s content calendar?
Content Calendar allows you to auto-generate blogs, LinkedIn posts and tweets for a week, 2 weeks or a months ahead of time.
How to use the content calendar?
1. From home page, click on ‘calendar‘ on the top menu bar.
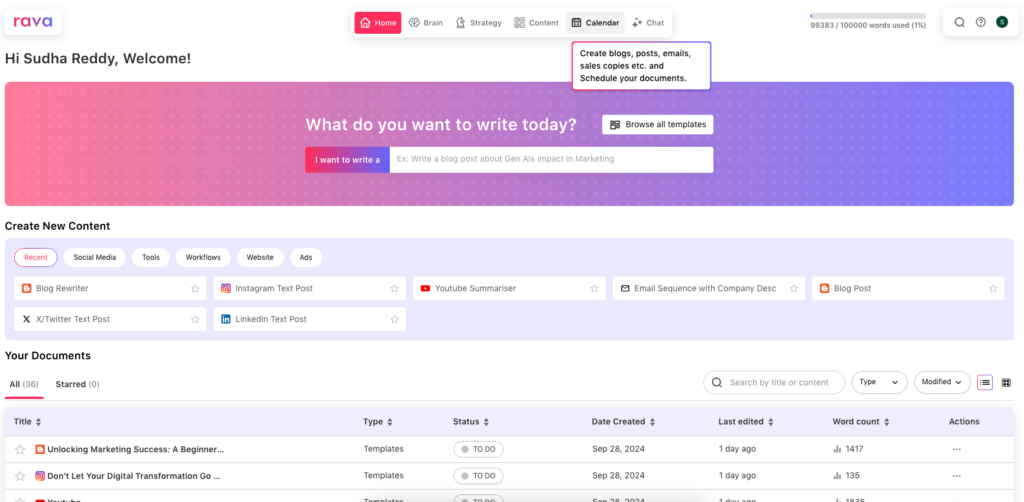
2. ‘Calendar‘ screens opens up with a default view of all the content you have already set up.
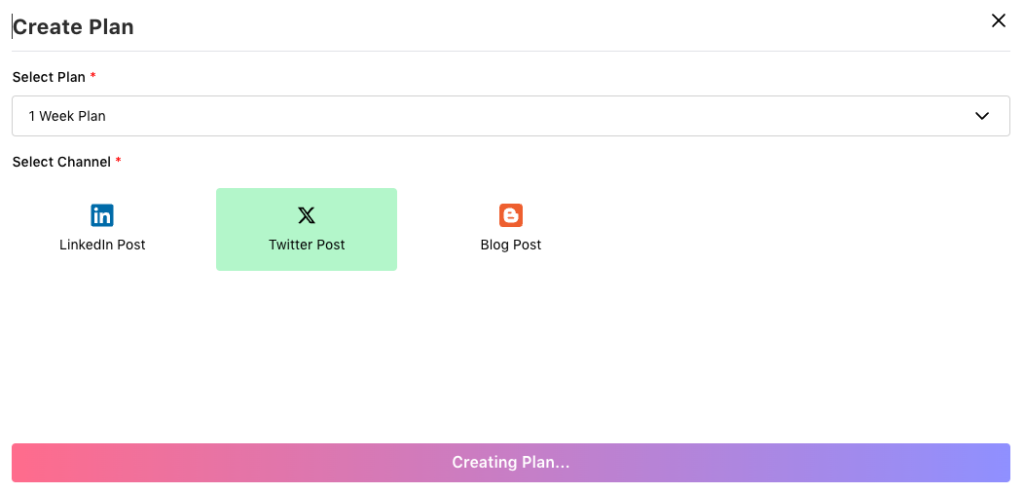
3. Select ‘ Create Plan‘ then select if you want content to be generated for 1 week, 2 weeks or 4 weeks. Then choose the channel “LinkedIn, Twitter or Blog” content you would like to generate.

This process could take a while depending on the content type you choose. You can close the window while the content is being generated.
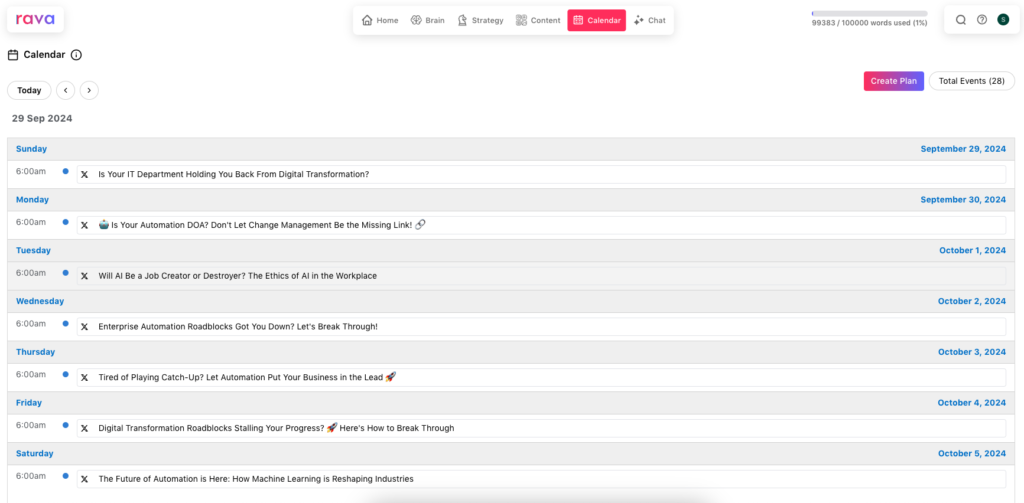
4. Once generated, all the content is shown in the calendar. Please note that by default, content is generated from 6am the following day. Reminders are automatically sent to your email an hour before the event is supposed to go live.
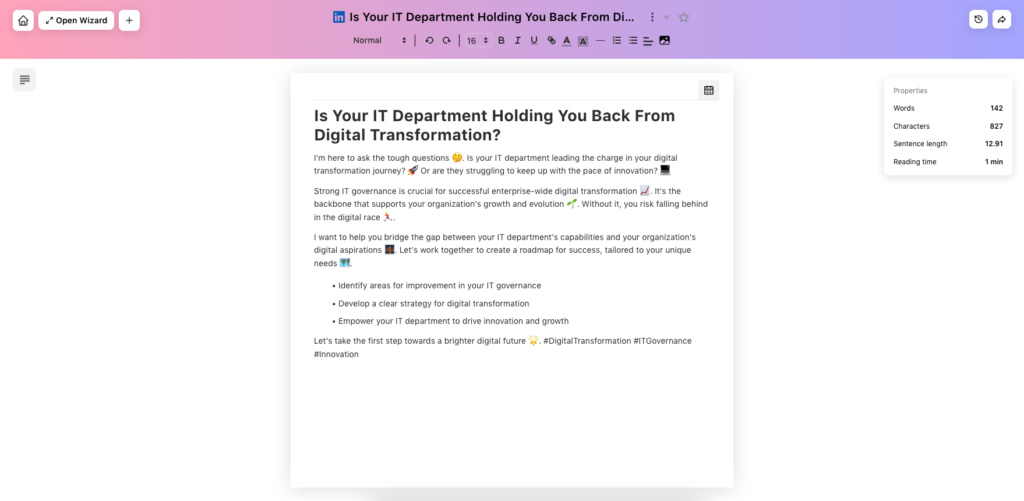
5. You can choose to edit the name and time of the post by clicking on any specific post
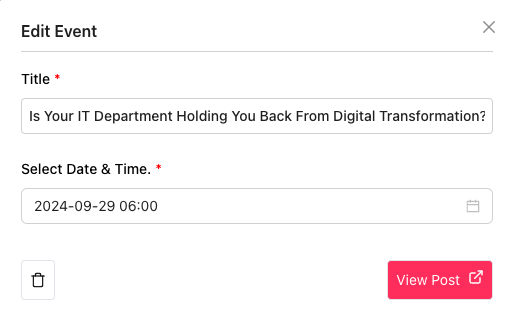
6. You can choose to also view the post by clicking on “View Post” button. You can also choose to edit the post content as well and it will be auto-saved.
6. Now, with content calendar in place, your content is all set to go. For this first version, we request users to manually review and set up the content on the respective social media pages.